Prerequisites:
This tutorial will explain how to do simple texture transformations on an object in Blender - making a texture move, rotate, or scale over time. It’s actually quite easy! The mesh we create will be used later in other tutorials, so let’s start with a simple sphere and work our way up.
Set Up the Mesh
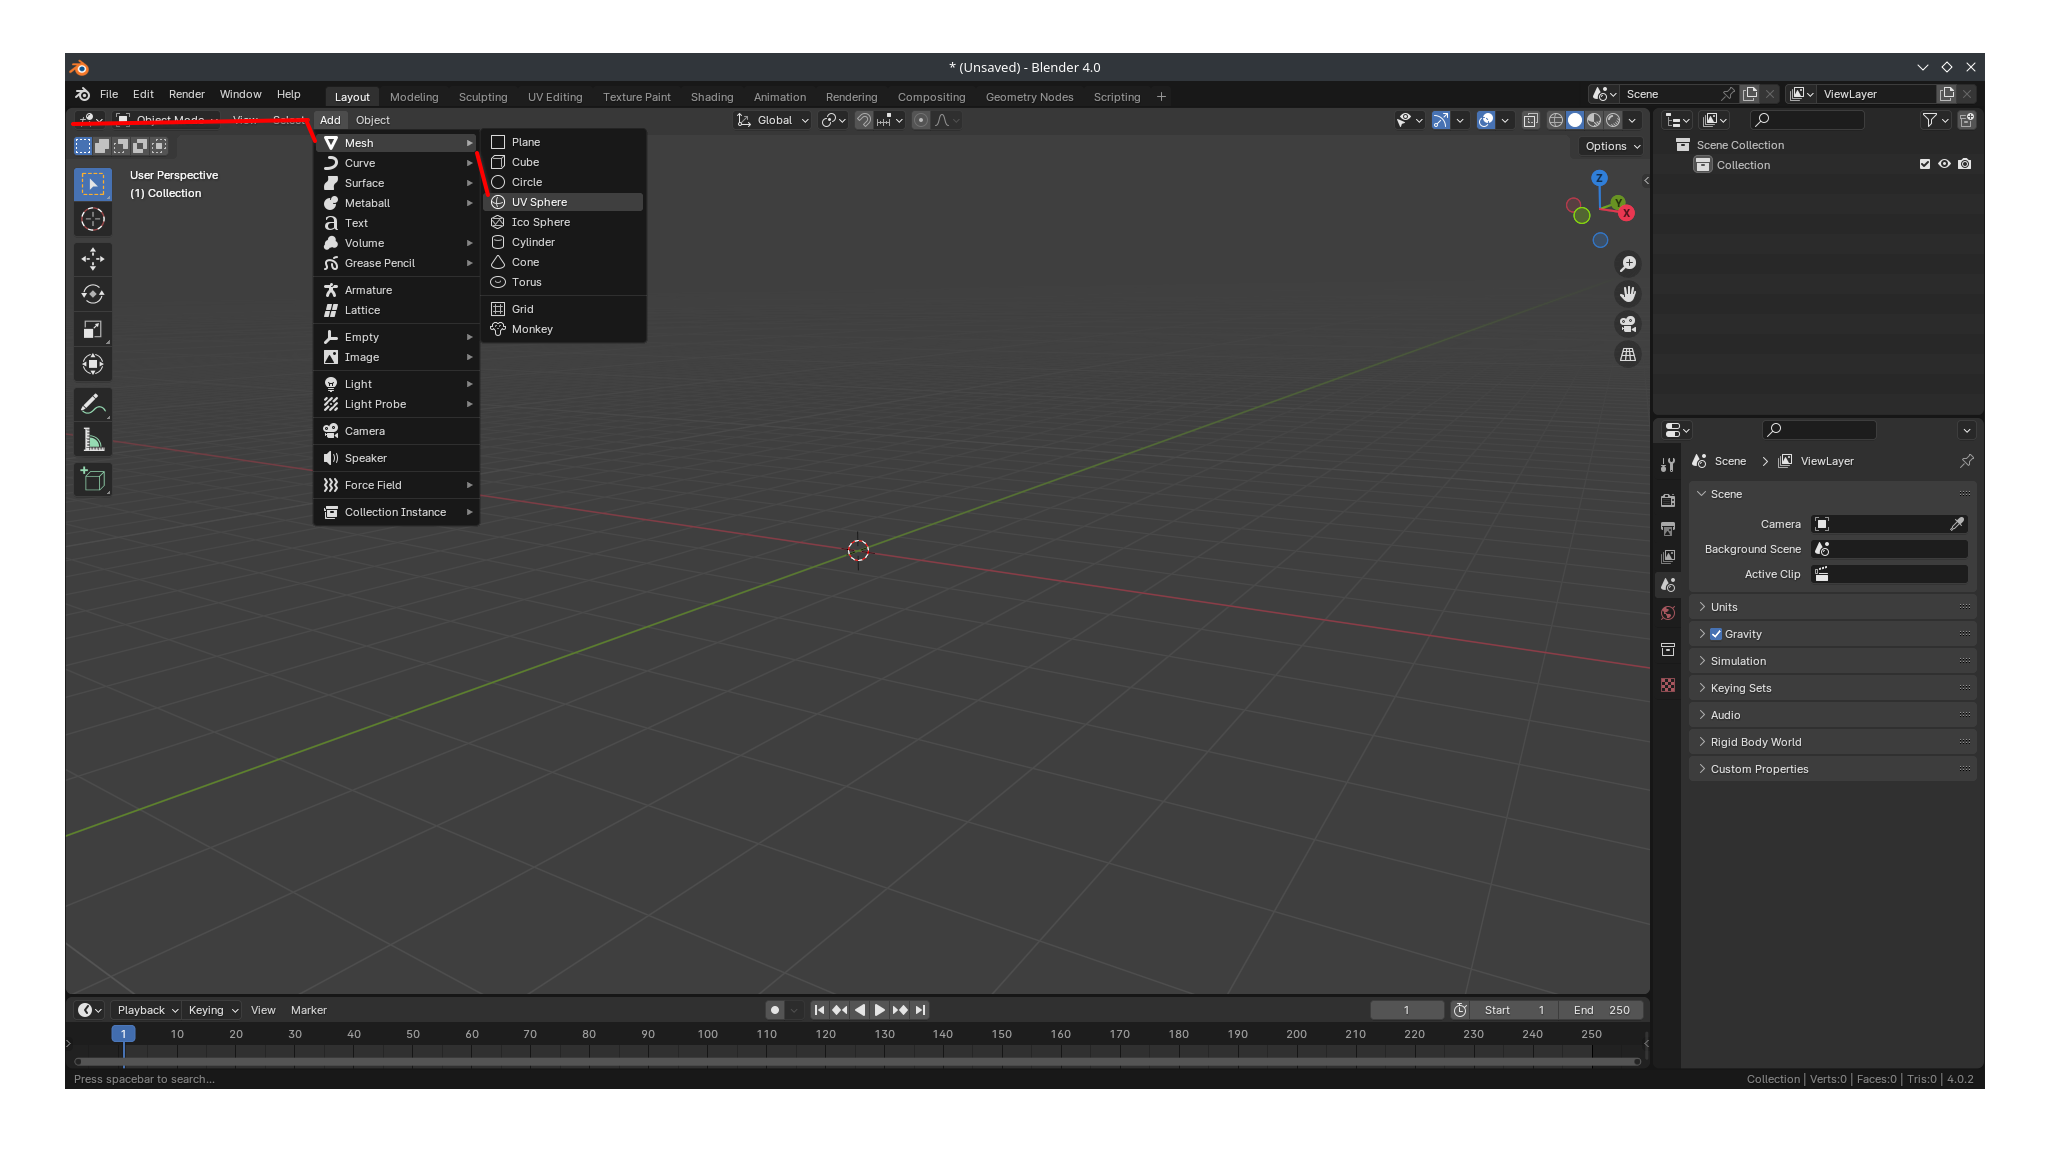
Open Blender, and create the sphere like so:
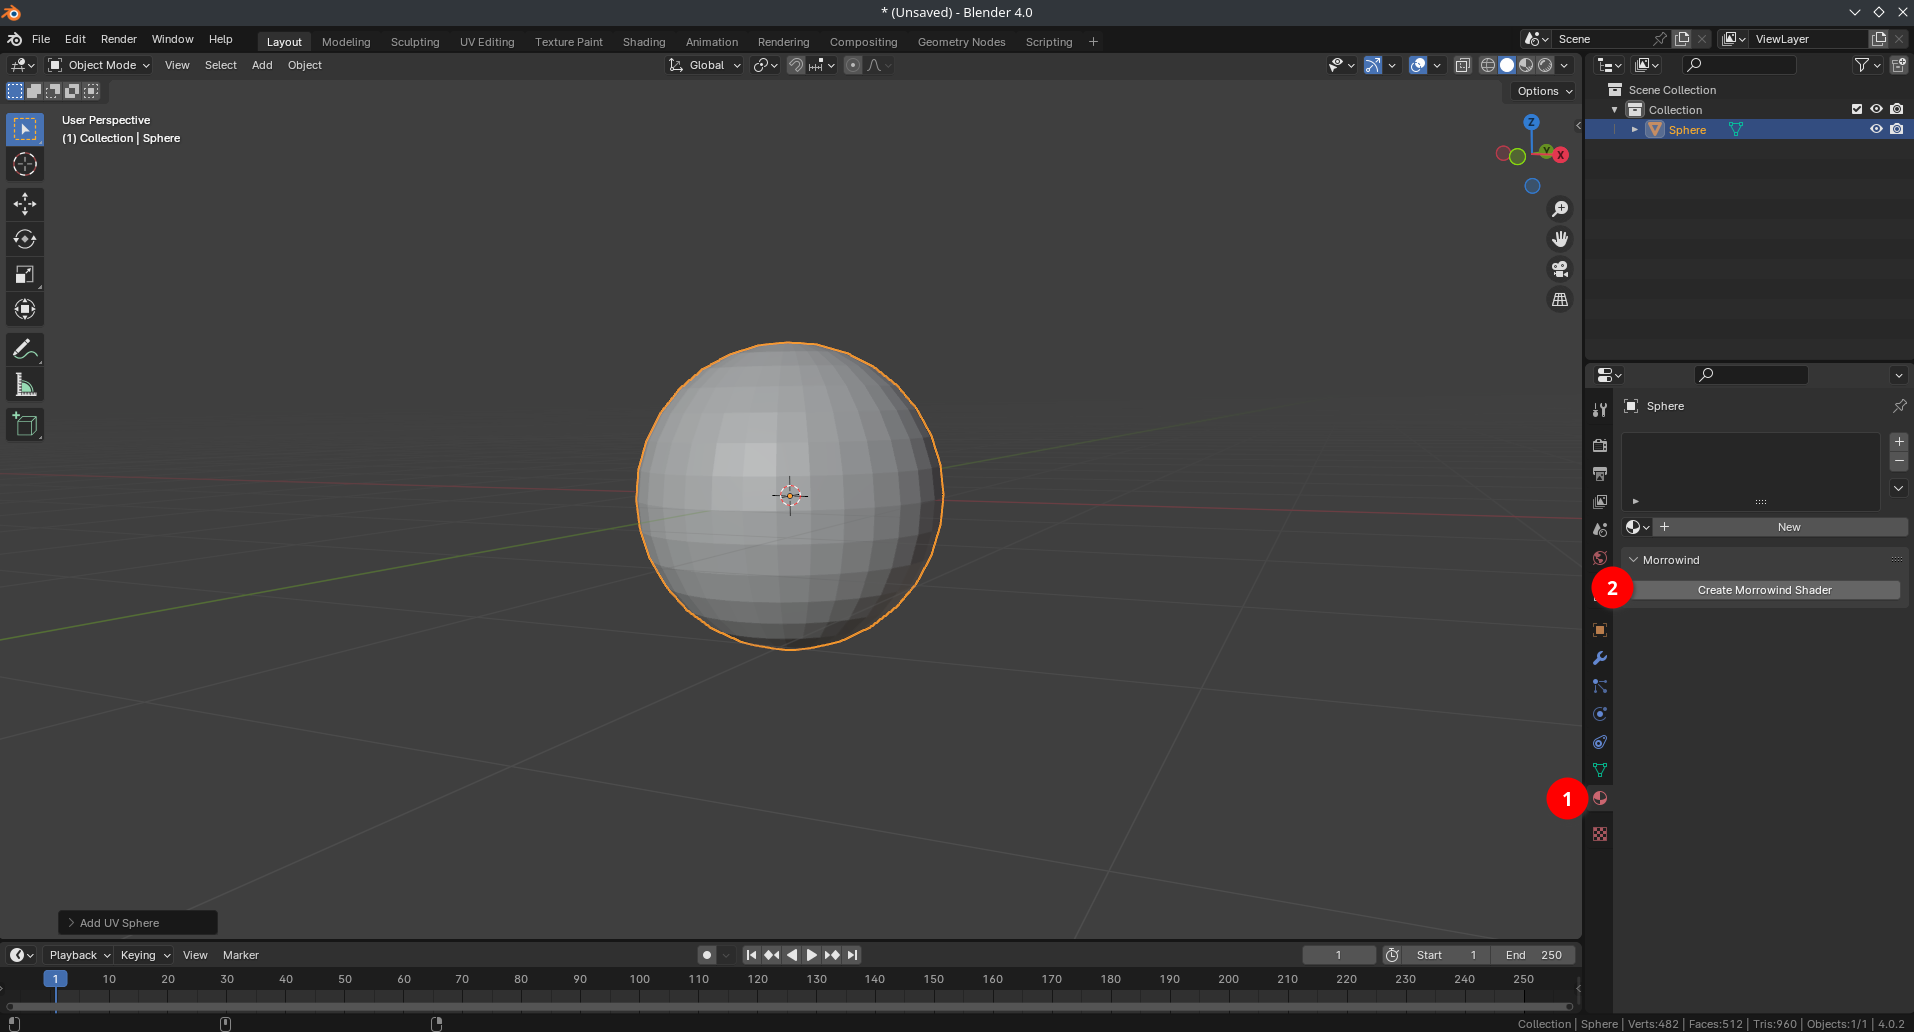
Once you’ve made the sphere, select its material and then Create a Morrowind Shader.
For the purpose of this tutorial, we’ll use an edited version of the sky5_blu texture from LibreQuake
Transclude of sky5_blu.dds
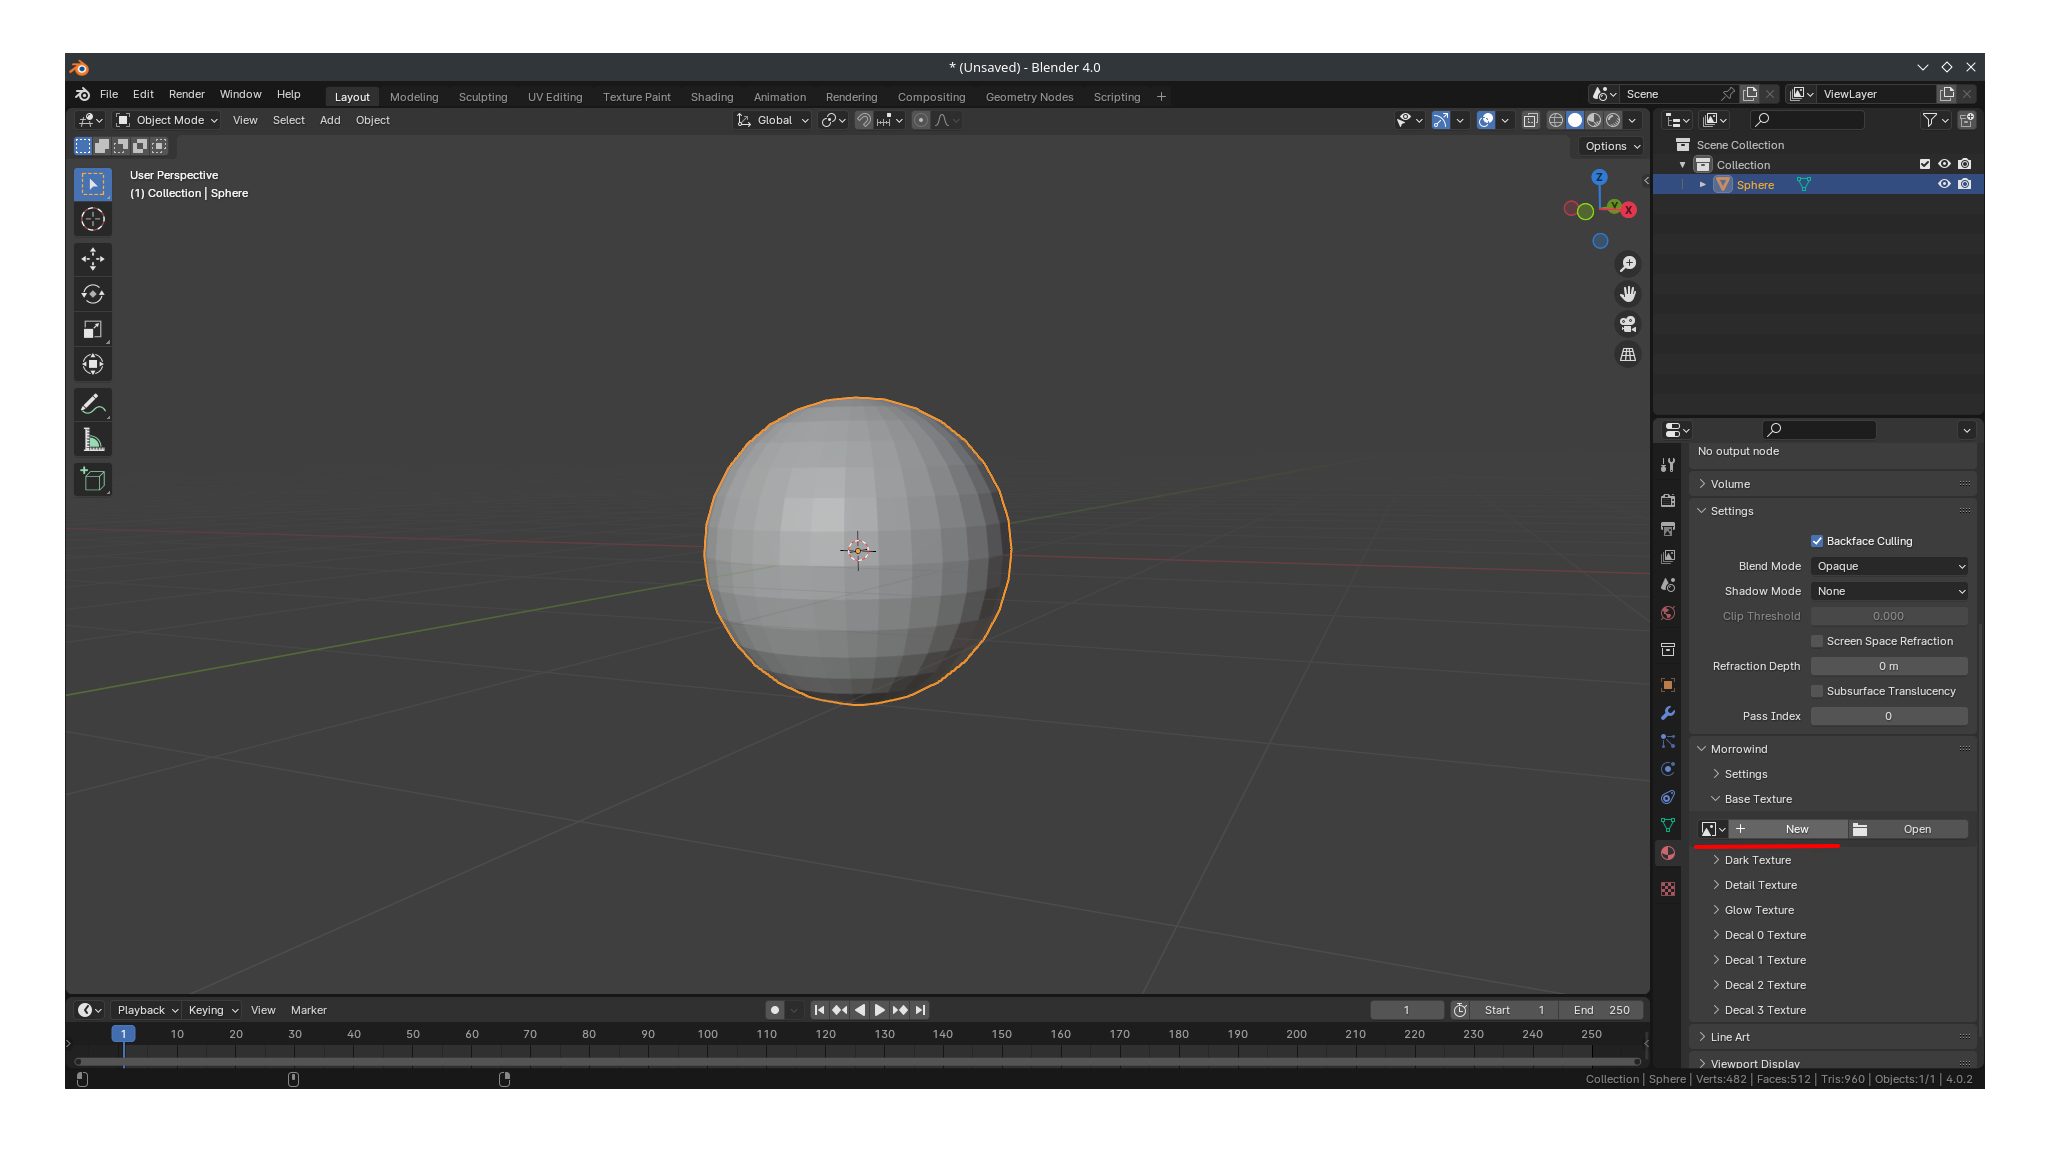
Once you’ve created the shader, scroll down to Base Texture and select Open, giving it our sky texture or whatever you prefer.
Then press Z and 2 to show the sphere with the texture properly drawn onto it.
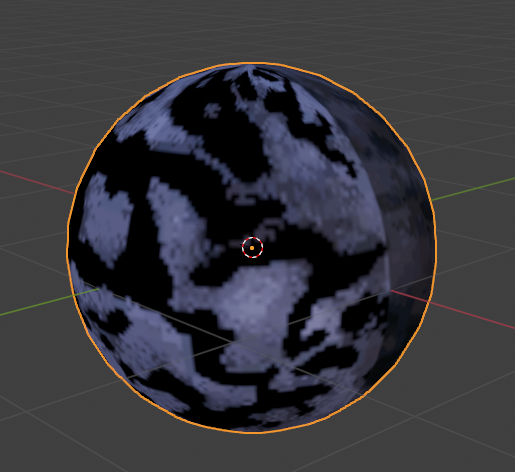
Make It Dance!
Since this guide is simply focused on the animated texture, that’s all we’ll do here.
Hover your mouse over the Position attribute of your texture and then press I on the keyboard. The position attribute then becomes yellow and you’ll see a yellow diamond appear in the timeline at the bottom of the window (Pictured as yellow arrow). Underlined in red are the starting and stopping frames of your animation. This is basically how long they are. For this reason it may be useful to select View and convert the displayed number to seconds instead of frames, so you get a better feel for how long your animation is.
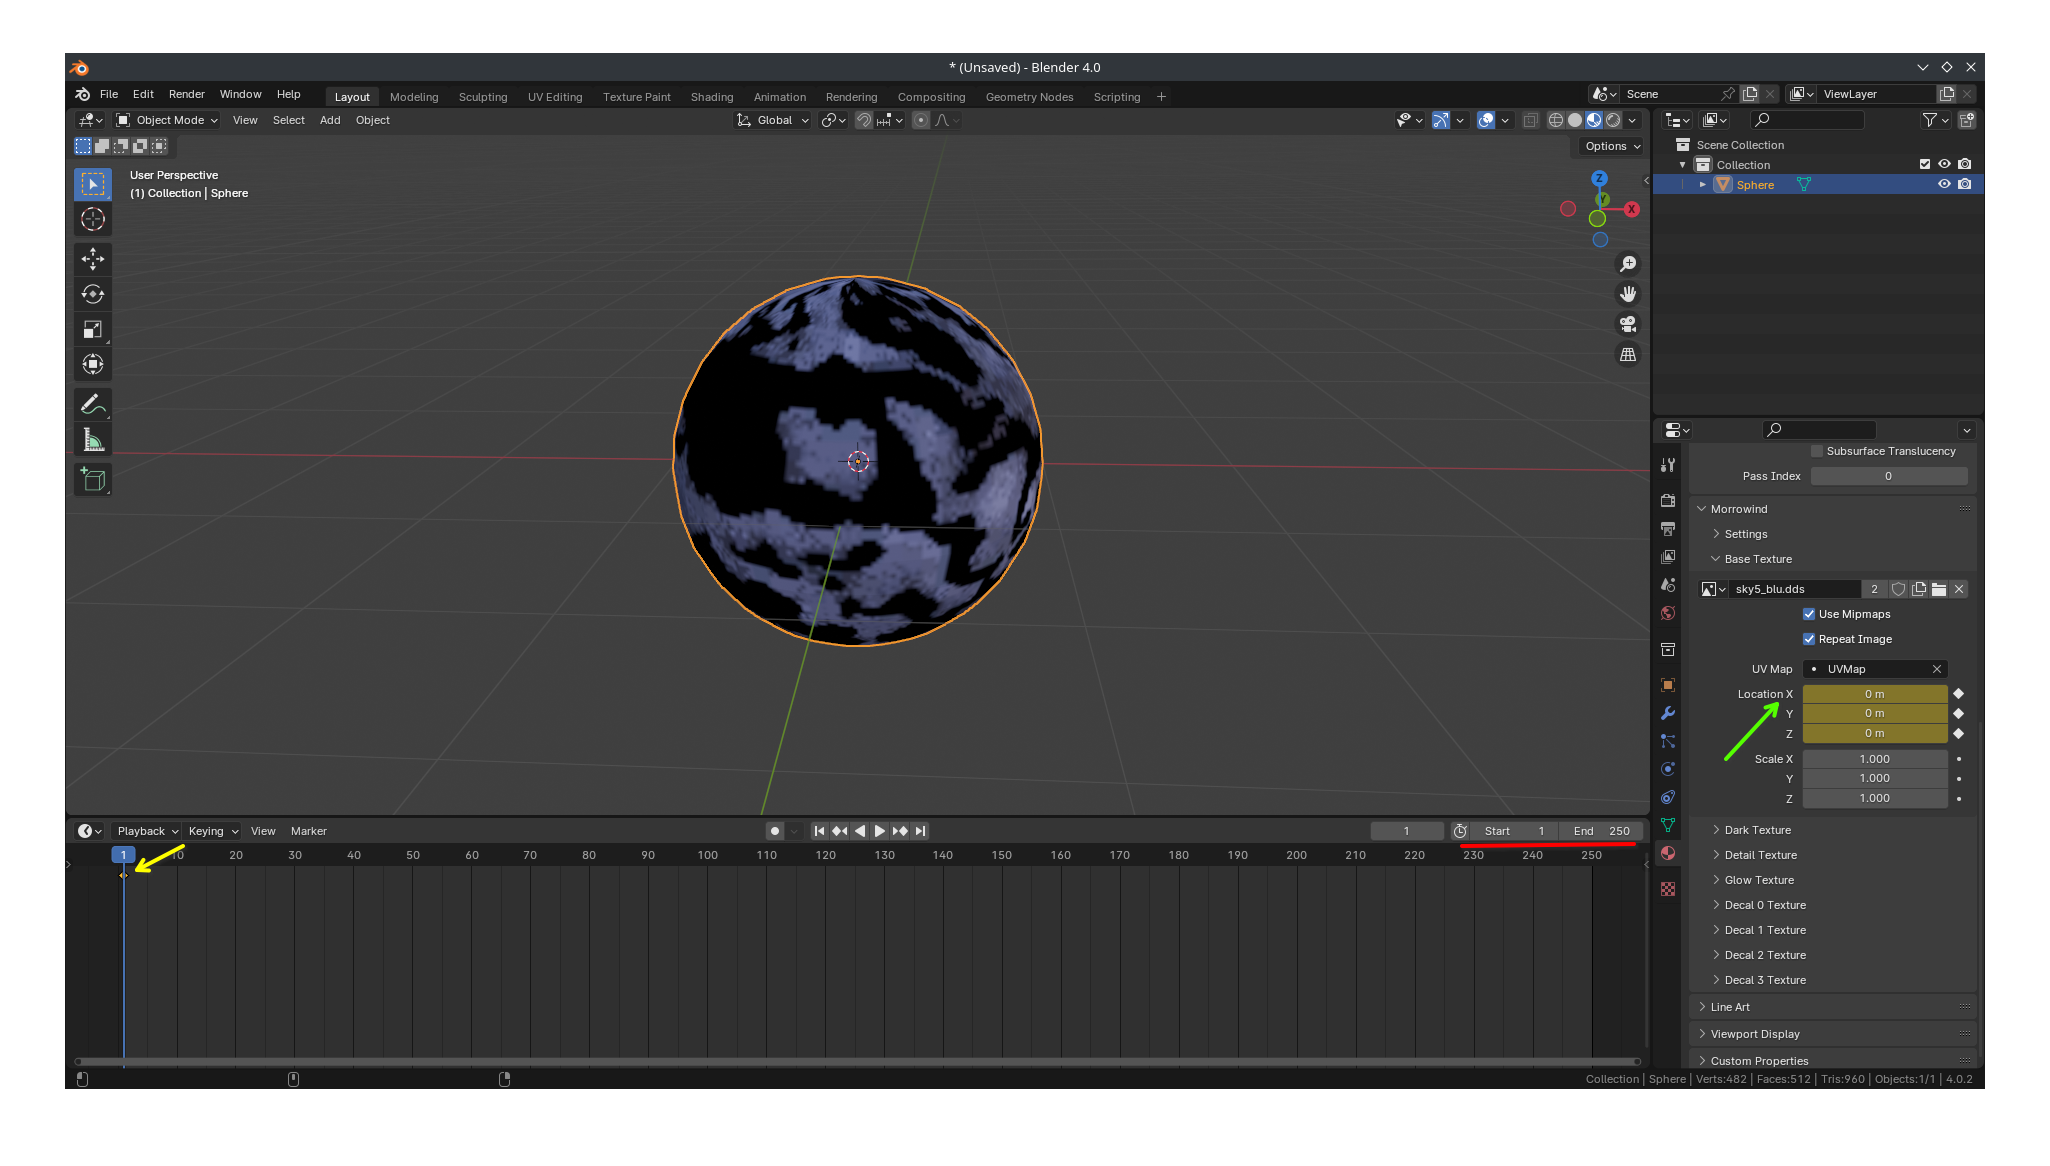
You can change the length of the animation by dragging around, or typing in the end frame. The animation below ends at 4 seconds. Finally, set your desired location and press I again. This will insert a new keyframe at your current location, with the new texture location you just set. Press spacebar to play the animation.
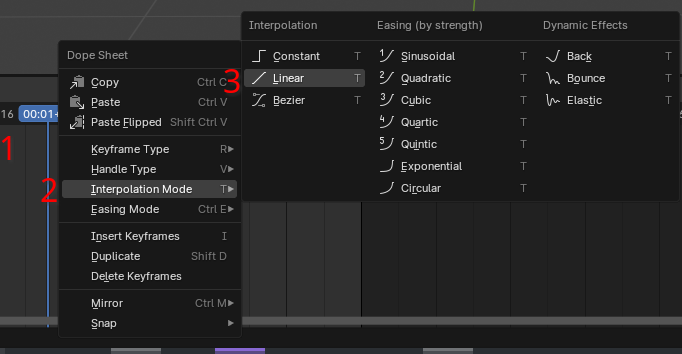
You might notice the animation is a little “jumpy”. This is because by default blender animations use bezier curves for their timing, which isn’t intended to be perfectly smooth during transitions. To fix this, if you want to, simply right click in your timeline and change the Interpolation Mode to linear:
Play around with setting different scale, position, or rotation values for your animation. This simple change can get you pretty far! In a later tutorial we’ll explore using this same technique with multiple textures, and then later how to use it to create a working skybox.
For now, though, make sure to export your mesh back out as a nif using blender until you’re ready to work on it again.
